CheQ App Detailed Information: How to Pay Bills, CheQ Chips, Pros & Cons
CheQ is an innovative app that streamlines credit card bill payments by allowing you to manage all your credit cards in one convenient place. The most unique feature of the CheQ app is that you get a guaranteed 1% reward on every transaction. This reward is in the form of CheQ chips. So whenever you make any transaction you will receive 1% reward CheQ chips of that transaction.
In this article, we will be discussing everything regarding the CheQ app. We will also cover the detailed step-by-step process to show you how you can open your account on the CheQ app and we will also discuss how you can pay your credit card bill with the help of the CheQ app. So make sure that you read this article till the very end. If you want to open an account on the CheQ app then do not forget to follow the step-by-step process given below to avoid any mistakes or obstacles.
Here is the step-by-step process to register yourself on the CheQ app
Easy Steps to Create an Account in the CheQ App
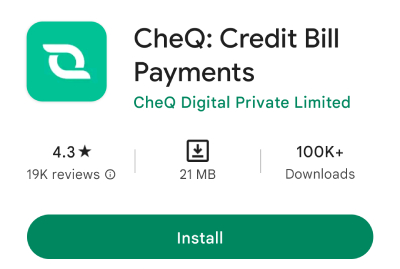
Step 1: Go to the Play Store or app store depending on the device that you use. Then download the ‘CheQ’ app on your mobile phone.
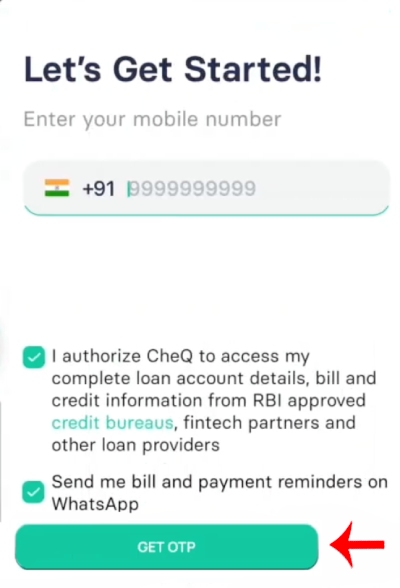
Step 2: Now you will have to enter your mobile number. (Enter the mobile number that is linked to your CIBIL score. If in case you enter some other number then you will have to enter your PAN Card number as well but if your mobile number is linked to your CIBIL score then it is sufficient)
Now click on the two checkboxes and then click on the ‘Get OTP’ option.
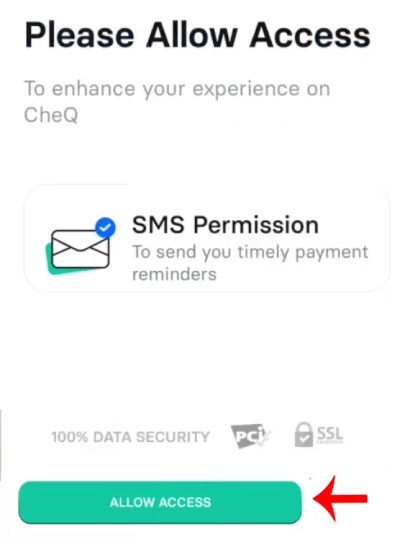
Step 4: You will have to give access to SMS. So click on the ‘Allow’ button.
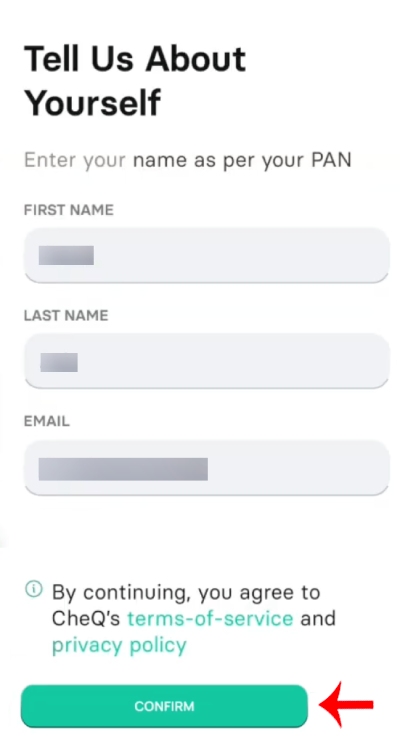
Step 5: Once your OTP is verified you will have to enter a few of your personal details. Here you will have to enter your first name, last name, and your email address that is linked and registered to your credit card. (Enter the name of the person who owns the credit card ) now click on the ‘Confirm’ button.
Step 6: It will take a few seconds to fetch your credit card. Once the information is fetched successfully you will be redirected to the new page. Here you will see your name and your current credit score.
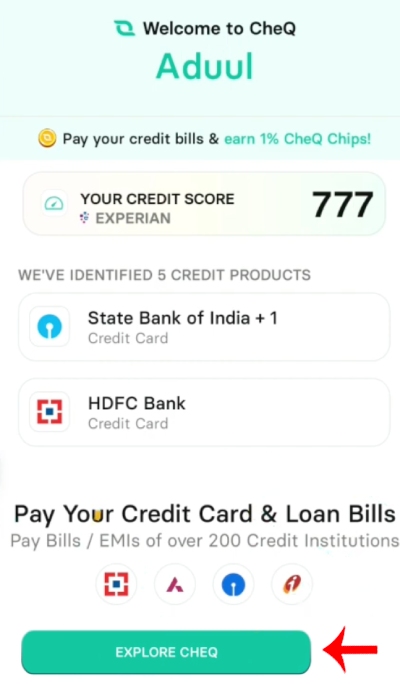
Once you access the main dashboard of the app, you won’t immediately see your due amount. This is because, to view your due amount, you need to verify your credit card first. Once the verification process is complete and your statement is generated, you will be able to see your due amount.
And voila! You have successfully registered yourself on the CheQ app.
How to Pay Your Credit Card Bill Using the CheQ App
Step 1: Open the CheQ app on your mobile phone.
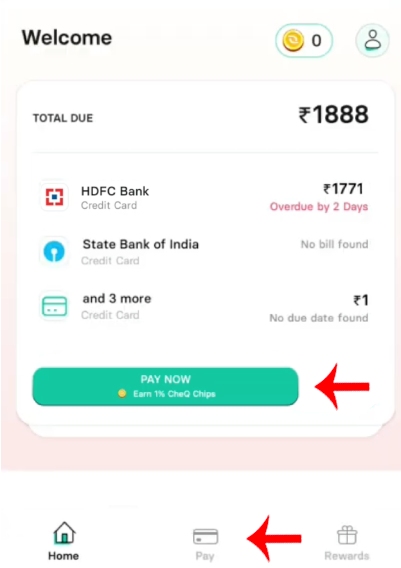
Step 2: Now on the next page you will see the due amount. Below that you will see a ‘Pay now’ option. To pay your credit card bill using the CheQ app click on the ‘Pay now’ option.
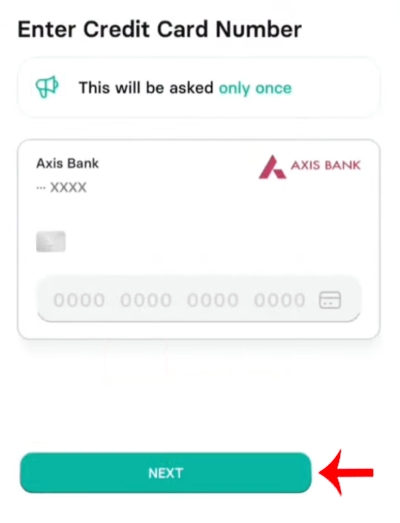
Step 3: Now you will have to enter your credit card number and then click on the ‘Next’ button.
Step 4: Now you will have to enter the expiry date of your credit card and you will have to enter your CVV as well. Once you have entered these details correctly click on the ‘Next’ button.
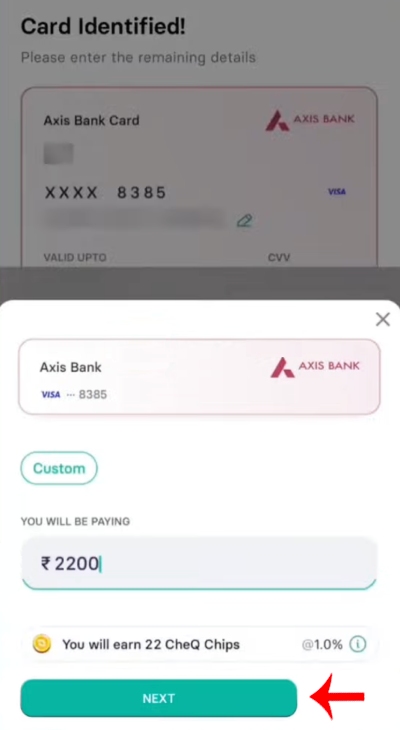
Step 5: Now enter the amount that you have to pay for your credit card bill. (If you are using this for the first time then avoid making big payments. Make small payments example Rs. 100, 200, etc to see how much time it takes)
Here we will be entering Rs. 2200. Now below you will see how many CheQ chips you will receive according to 1%. In this case, if you make a payment of Rs. 2200 then you will get 22 CheQ chips. Now click on the ‘Next’ button.
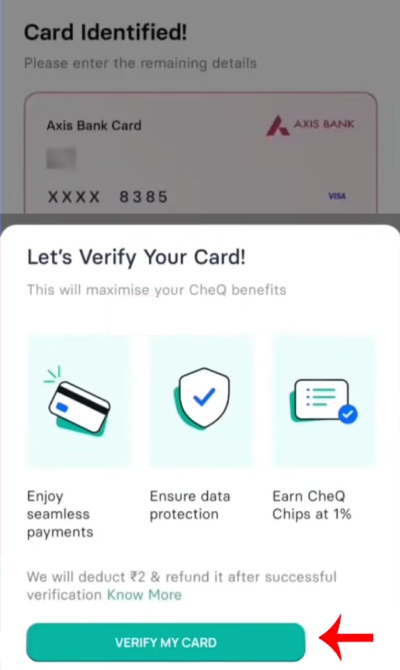
Step 6: Now here you will be shown that you have to first verify your credit card. For the verification process, Rs. 2 will be deducted. So now click on the ‘Verify my card’ option. You have to remember that these 2 rupees will be refunded back to you.
Step 7: Now for this verification process an OTP will be sent to your mobile number that is registered to your credit card. So enter the OTP that you have received and then click on the ‘Confirm’ option.
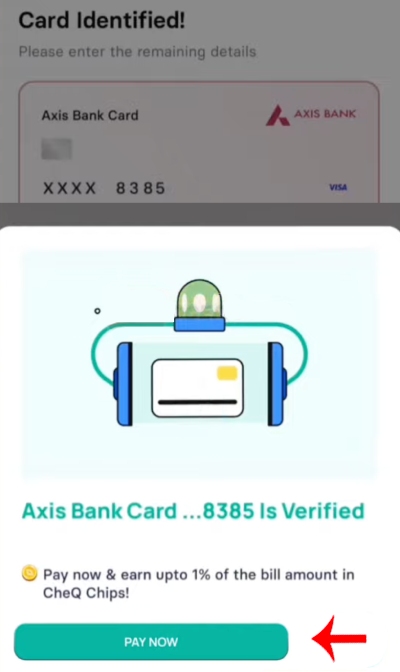
Step 8: Now two rupees will be deducted from your credit card and then your card will be successfully verified. (You have to remember that this credit card verification is a one-time process so you just have to verify your credit card when you pay through the CheQ app for the first time. Later on, you do not have to verify your credit card you can directly make the payment)
Step 9: Now click on the ‘Pay now’ option. Once you click on it you will be redirected to the payment page. You will see different payment options. You can pay through Google Pay, Paytm, net banking, or your debit as well. Here we will be choosing ‘Paytm’.

Once you click on the Paytm option your payment summary will be shown. Cross-check the payment summary and then click on the ‘Pay now’ option present below.
Once you click on the pay now option you will be redirected to Paytm. Now enter your UPI pin and then complete the payment. Your transaction will be successfully completed and this is how you can successfully pay your credit card bill with the help of the CheQ app.
Pros and Cons of CheQ app
Now it will show how many days will it take to reflect on the CheQ app. In most cases, it will immediately show on your app. You always have to check out both sides of the coin that is its advantages and disadvantages. Even the CheQ app has some advantages and disadvantages. Do not forget to weigh the pros and cons before making a decision. So now let us move on and see the pros and cons of the CheQ app.
Here are the pros of the CheQ app
- The biggest advantage of paying your credit card bills with the help of the CheQ app is that you earn money while you spend it. You earn money in the form of rewards which are termed ‘CheQ chips’.
- The CheQ app offers 1% guaranteed rewards on every transaction that you make with the help of the CheQ app.
- You can pay for all of your credit card bills in one place.
- The rewards can be redeemed in the form of cash, vouchers, etc.
- The interface of the CheQ app is extremely smooth and user-friendly. So even beginners will be able to use the CheQ app efficiently.
These are the pros of the CheQ app now let us move on and see the disadvantages of the CheQ app.
- The CheQ app requests SMS access. This is also mandatory. So the app will be able to collect data from your SMS.
- For now, you can only make payments on your credit card bills but you cannot see the previously paid bills on the CheQ app.
- There will soon be a feature on the CheQ app through which the CheQ app will be able to retrieve credit card statements directly through emails.
- Also one of the biggest security concerns regarding this app is that in the privacy policy, it is mentioned that if you allow or give your consent to access or read your emails then the CheQ app will be able to read other financial or personal emails as well. They have stated that they will only use this information to make better offers.
Rewards offered by the CheQ app
The CheQ app offers rewards in the form of ‘CheQ chips’. Whenever you make any transaction with the help of the CheQ app you will receive 1% of the transaction amount in the form of ‘CheQ chips’. The biggest and most important and attractive thing is that the CheQ app guarantees a 1% reward. So you will definitely receive one percent CheQ chips on every transaction. This is as good as earning money. So whenever you will be spending money you will also be earning rewards.
One CheQ chip is equal to 0.5 rupees
Now you must be wondering how you can redeem the CheQ chips or the rewards that you earn by making payments with the help of the CheQ app. So now let us move on and see how you can redeem the reward chips.
How to Redeem CheQ Chips
You will earn 1% of your transaction amount as a reward in the form of CheQ chips. Now coming to the redemption of these CheQ chips, you can redeem them in the form of cashback or branded vouchers.
The brand partners of the CheQ app are Amazon, Flipkart, Myntra, Swiggy, Zomato, Amazon Prime Subscription, Ola, Uber, BigBasket, Blinkit, BookMyShow, Dominos, PVR, TataCliq, Croma, and many more. So you can get vouchers and shop from all these platforms and buy all things that you desire. When you redeem the CheQ chips for cash, you have to remember that
4 CheQ chips are equal to 1 rupee
You can also redeem it in the form of a reward percentage. So when we convert it into a percentage, you will get 0.5 % cash back on the vouchers of the brands mentioned above. Not just this but you can get 0.25% cash back directly in the form of cash when you pay your credit card bill with the help of the CheQ app. The CheQ chips that you earn on making payments with the CheQ app expire after one year. So you have to use it before it expires otherwise you will not be able to redeem it if you exceed the validation date.
(Important point to remember- You can only earn or get a maximum of 4000 CheQ chips every month. So the limit of earning rewards is 4000 CheQ chips )
We have now covered everything regarding the CheQ app. This app is definitely beneficial as you will be earning rewards on your every payment but still go through the information that we have mentioned above and then decide or make a decision about using it. We hope that this information was helpful to you and if it was do not forget to share this article with your family and friends so that even they can benefit from this and earn money while you spend!